


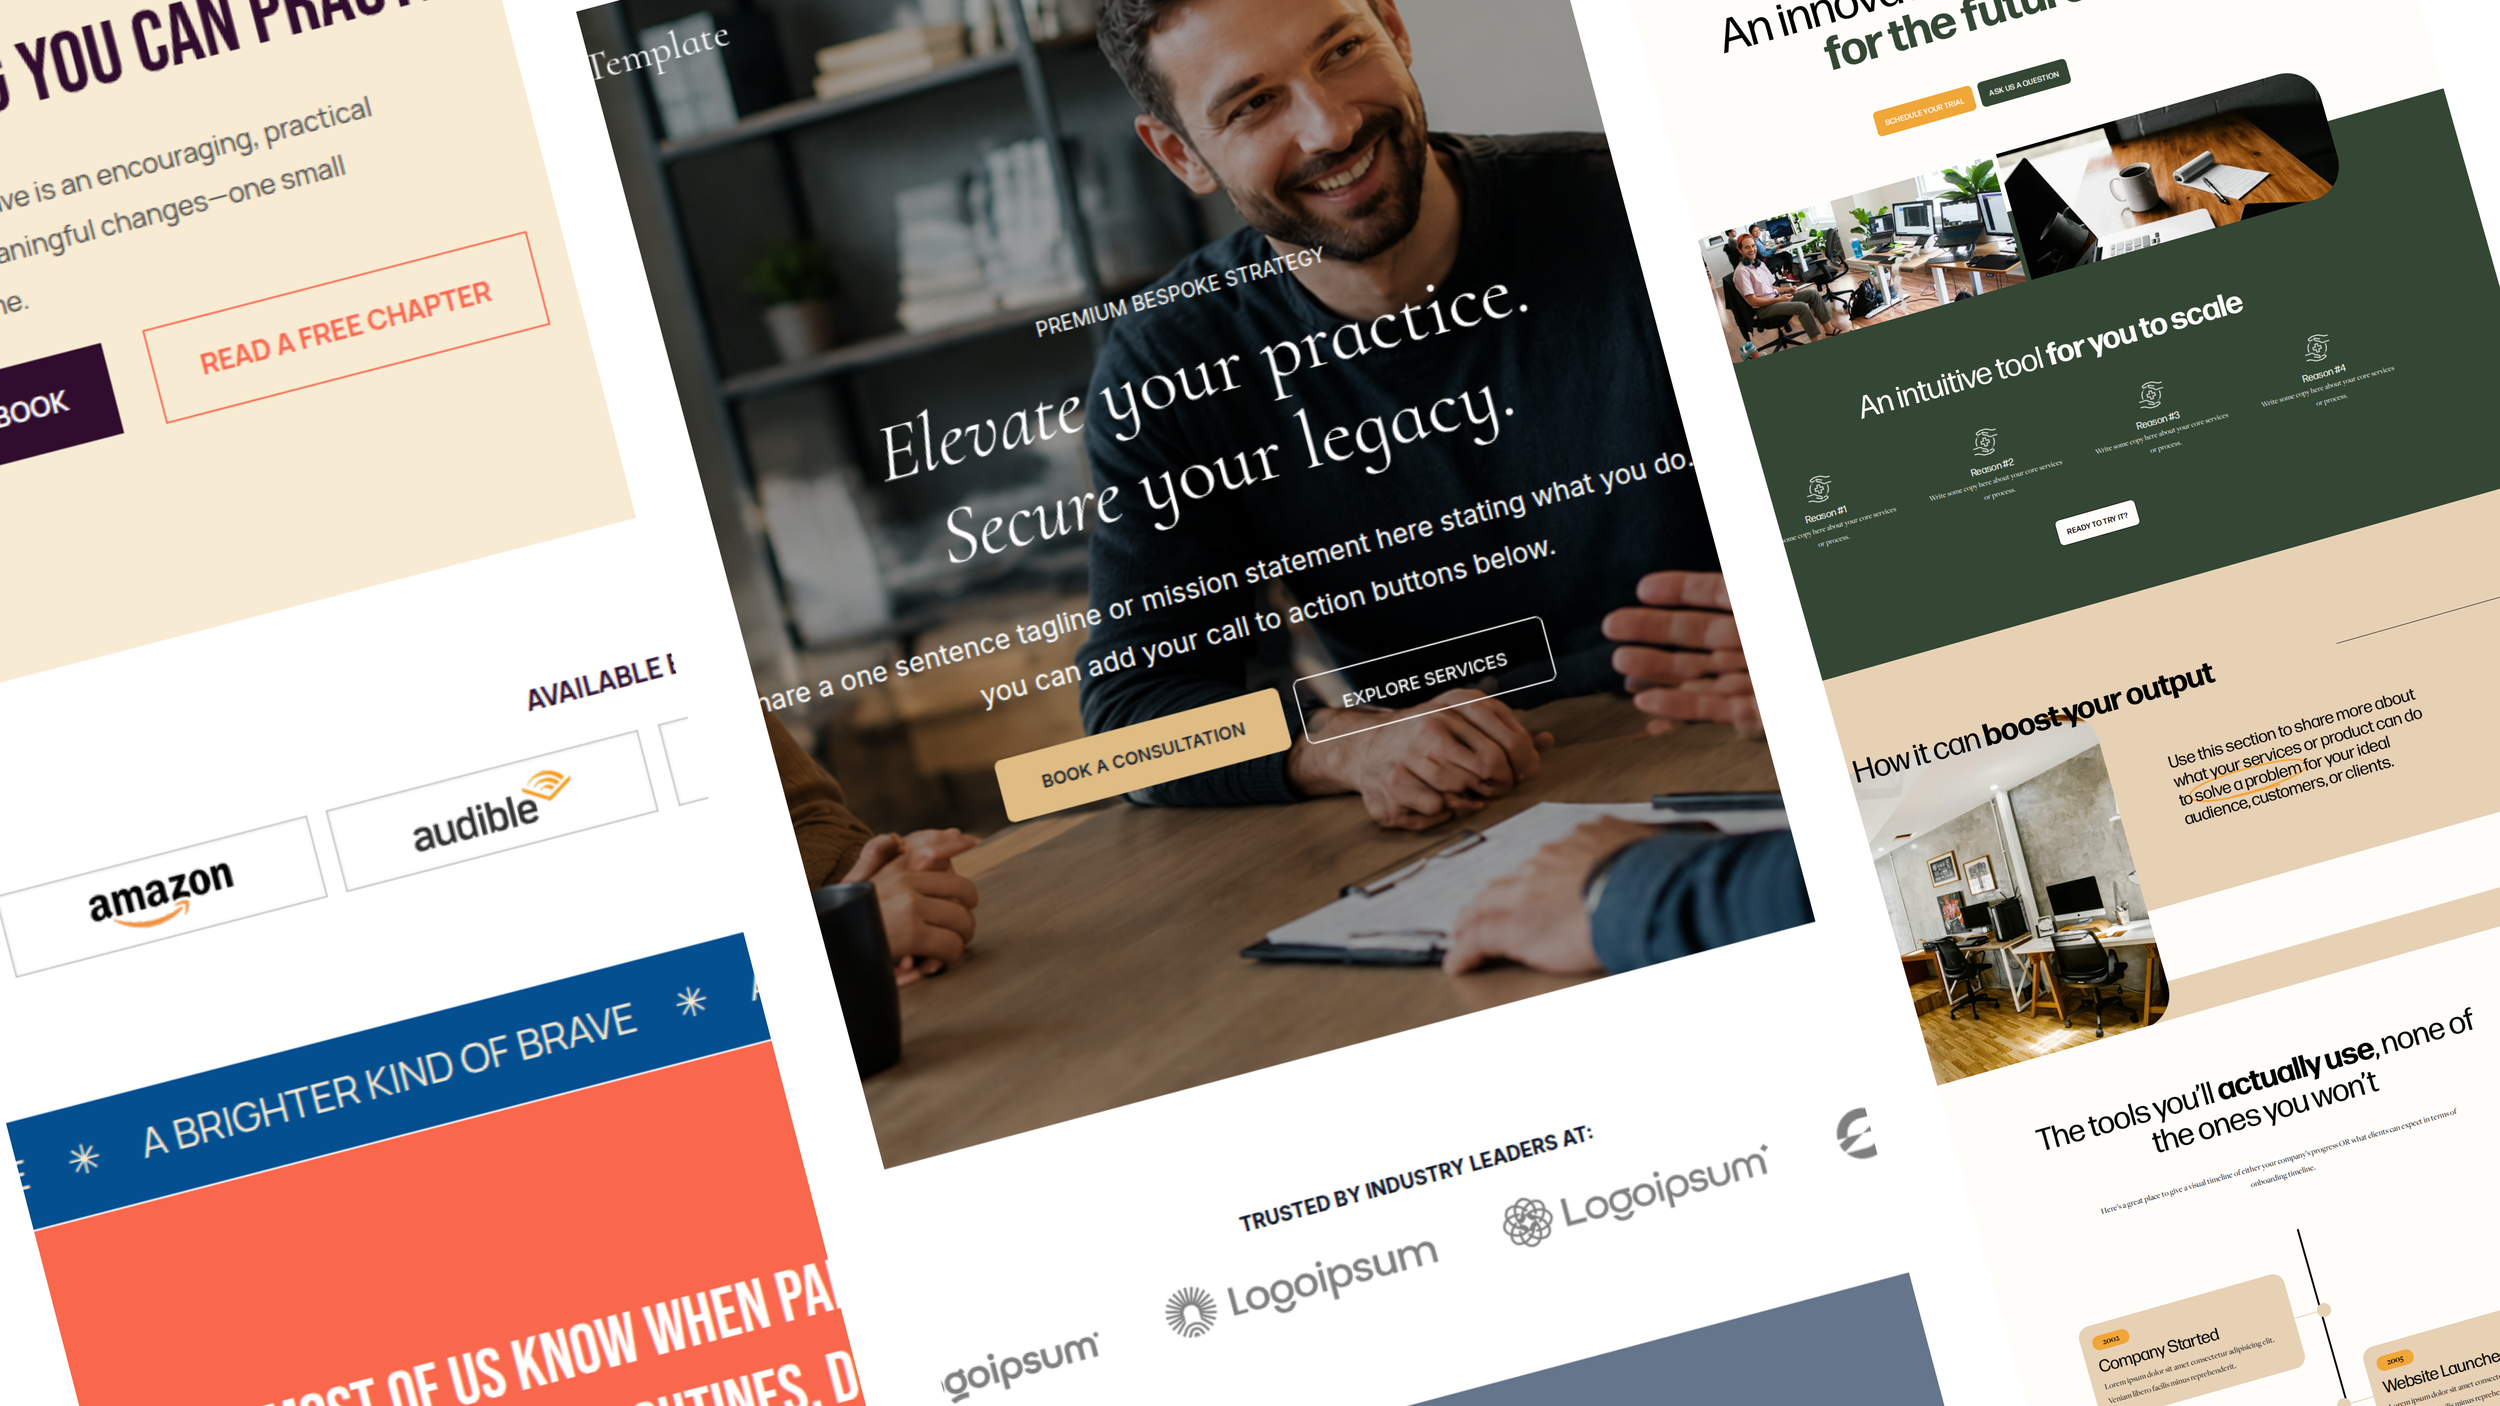
Welcome to Your Template!
You did it! Your new website is officially underway.
This guide will walk you through what happens after purchase, how to access your template, what to customize first, and what to do when you’re ready to launch.
No need to tackle everything at once. Follow the steps in order, and you’ll be well on your way to a website that feels like yours.
Step 1: Watch Your Inbox
After your purchase, Merida Creative will create a new Squarespace trial site using the template you selected.
You’ll receive an invitation from Squarespace to join the site as a contributor.
Be sure to use the email address you’d like associated with your Squarespace account.
What you need to do:
Open the Squarespace invitation.
Accept the invitation.
Create or log into your Squarespace account.
Let us know if you have any trouble accessing the site.
Once you’ve been added successfully, Merida Creative will transfer ownership of the website to you.
Step 2: Accept Website Ownership
Once ownership is transferred, the site is officially yours.
From that point forward, you’ll control your:
Squarespace account
Website settings
Contributors
Subscription
Billing
Domain
Content
Future updates
Your template will initially be set up as a Squarespace trial, so you don’t need to choose a paid plan immediately.
Take some time to customize your website first. You can upgrade to a paid Squarespace plan when you’re ready to launch.
Step 3: Start With Your Brand
Before replacing every word and image, start with the pieces that will make the template immediately feel like your business.
Update your:
Logo
Brand colors
Fonts
Site title
Favicon
Social links
In Squarespace, many global design settings can be found under Design → Site Styles.
A little advice:
Don’t feel like you need to change everything.
Part of the benefit of purchasing a professionally designed template is having the layout, typography, spacing, and visual hierarchy already established.
Customize it to fit your brand while letting the original design do some of the work for you.
Step 4: Replace the Demo Content
Now it’s time to make the website yours.
Work through the template one page at a time and replace the placeholder content with your own.
We recommend this order:
1. Homepage
Start with your main message, services or offer, calls to action, and most important photography.
2. About Page
Tell visitors who you are, who you help, and why your work matters.
3. Services or Offer Page
Clearly explain what you offer, who it’s for, and how someone can take the next step.
4. Contact Page
Update your form, email address, social links, and any other contact information.
5. Additional Pages
Customize your blog, FAQ, resources, portfolio, or other pages included with your template.
Important:
Replace all demo names, businesses, testimonials, images, links, and placeholder information before publishing your site.
Step 5: Add Your Photos
Photography can completely change how a template feels.
As you replace the demo images, choose photos that work with the shape and purpose of each section rather than trying to force every image into every space.
For the best results:
Use clear, high-quality images.
Include plenty of vertical photos for mobile layouts.
Have a mix of close-up and wider images.
Leave some negative space around the subject when possible.
Avoid placing important faces or text too close to the edges of an image.
Always preview your site on both desktop and mobile after changing photos.
Step 6: Check the Mobile Version
Please note: Your template was designed with mobile in mind, but your own copy and photography may change how sections display.
Before launch, review every page using Squarespace’s mobile preview.
Look for:
Awkward line breaks
Oversized headings
Images cropping strangely
Excessive blank space
Buttons that are difficult to tap
Sections that feel too long
Text that is difficult to read
Sometimes a small adjustment on mobile makes a big difference.
Step 7: Update Your Links + Forms
Before you publish, click everything.
Seriously. Everything.
Check:
Navigation links
Buttons
Contact forms
Email addresses
Social media icons
External links
Blog links
Newsletter forms
Footer links
Submit your own contact form once to make sure notifications are going to the correct email address.
Step 8: Add the Website Basics
There are a few behind-the-scenes details you’ll want to complete before launch.
Update:
Site title
Site description
Browser icon/favicon
Social sharing image
SEO page titles
SEO descriptions
Contact information
Business information
Privacy Policy
Terms of Service
Any required disclaimers or policies
If you collect emails, use analytics, sell products, or operate in a regulated industry, you may have additional privacy or legal requirements.
Your Merida Creative template provides the design framework for your website but does not replace professional legal, tax, accessibility, or industry-specific advice.
Step 9: Connect Your Domain + Choose a Plan
Once your content is ready, you can upgrade your Squarespace trial to a paid plan and connect your domain.
If you already own a domain, you can either transfer it to Squarespace or connect it from your current domain provider.
If you’re purchasing a new domain, you can also purchase one through Squarespace or another domain provider.
Before connecting your domain:
Make sure the site is essentially ready to launch.
There’s no need to rush this step while you’re still customizing your template.
Step 10: Do a Final Launch Check
Before announcing your new website to the world, give everything one last look.
Your pre-launch checklist:
□ Demo content has been removed
□ Logo and branding are updated
□ Photos are replaced
□ All copy has been proofread
□ Buttons and links work
□ Forms have been tested
□ Mobile layouts have been checked
□ Page titles and SEO descriptions are updated
□ Social links are correct
□ Legal pages are added
□ Favicon and social sharing image are updated
□ Domain is connected
□ Squarespace subscription is active
And then? Hit publish. You got this!
A Few Things to Remember
Your template purchase is licensed for use on one website.
A Squarespace subscription, domain, premium fonts, third-party plugins, stock photography, and custom services are not included unless specifically stated in your product description.
Template purchases are subject to the Merida Creative Template Shop Terms & License Agreement and Refund Policy.
Most importantly: you don’t have to finish your website in a day.
Start with the essentials, work through one page at a time, and make the template your own.
We can’t wait to see what you create.
Merida Creative
meridacreative.co
If you need help with your templates, here’s how we can help.
Your template is designed to make building your website easier—but DIY doesn’t have to mean doing every single thing alone. Whether you need help getting unstuck, want a professional eye before launch, or would rather hand the whole thing over, Merida Creative offers three ways to step in and help.
-
$100/hour
Get unstuck without handing over the whole project.
Have a few Squarespace questions? Something not looking right on mobile? Not sure how to customize a section?
Book a 45-minute one-on-one support session and we’ll work through your questions together so you can keep moving.
Great for help with:
Template customization questions
Squarespace settings
Mobile layout issues
Section and page adjustments
Forms, buttons, links, and navigation
Domain or basic site setup questions
General troubleshooting
We’ll tackle as much as we can during your 45-minute session.
Best for: The DIYer who mostly has it handled but needs a little expert help along the way.
-
$550
You build it. We make it feel finished.
You’ve added your copy, photos, branding, and content—now you want a professional eye to bring everything together.
With The Finishing Touch, Merida Creative will review your customized template and spend up to 2.5 hours polishing the design, correcting visual inconsistencies, and making sure your site feels ready to launch.
Your finishing session may include:
Desktop and mobile layout cleanup
Spacing and alignment adjustments
Font and color refinements
Image placement and sizing
Button, form, and link checks
Small design adjustments
Basic SEO settings review
Final pre-launch website review
Before your session, your website should be substantially complete with your final copy, images, branding, and core pages already in place.
Major redesigns, new pages, copywriting, custom coding, or additional functionality are not included, but can be quoted separately if needed.
Best for: The DIYer who has done the heavy lifting and wants a designer to give everything that final professional polish.
-
Starting at $1,750
Love the template, but not the DIY part? You chose the design. Now let us take it from here.
With a Done-for-You Template Buildout, Merida Creative customizes your purchased template with your branding, copy, images, and business information so you can skip the setup and move straight toward launch.
Your buildout includes:
Customization of your purchased template
Placement of your provided website copy
Brand colors and font styling
Placement and formatting of your provided photography
Customization of the pages included with your template
Desktop and mobile optimization
Forms, buttons, links, and social profiles
Basic on-page SEO setup
Final website review and launch preparation
You’ll provide your finalized copy, logo and brand assets, photography, and any necessary account information before the project begins.
Template Buildouts are designed to customize the existing template—not completely redesign it. Significant layout changes, additional pages, custom functionality, copywriting, advanced SEO, or custom development may require an additional quote.
Best for: The business owner who loves the template but would rather have a professional customize it for them.
Frequently Asked Questions
-
After purchase, Merida Creative will create a new Squarespace trial site using your selected template. You’ll receive an invitation to join the site, and once accepted, ownership will be transferred to you.
-
No. Because your template is delivered as a complete Squarespace website rather than downloadable files, there is a short manual setup process before your site is transferred to you.
-
Your template will typically be prepared and transferred within 1–2 business days after purchase.
-
Yes. You’ll need a Squarespace account to accept ownership of your website. If you don’t already have one, you can create one when you receive your invitation.
-
No. Your template purchase is separate from your Squarespace subscription. When you’re ready to launch, you’ll purchase the Squarespace plan that works best for your business directly through Squarespace.
-
No. The template is built so you can customize your website using Squarespace’s visual editor. You can change your text, images, colors, fonts, buttons, and page sections without coding.
-
Absolutely. The template is meant to be customized to fit your brand. You can replace the demo content and adjust the design throughout the site.
-
Yes. You can duplicate existing sections, create new pages, add blog posts, expand your navigation, and continue building on the template as your business grows.
-
The template is delivered as a new Squarespace site rather than installed directly onto an existing website. You can move your existing content into the new site before connecting your domain and launching.
-
No. Your domain is purchased and managed separately. You can connect a domain you already own or purchase a new one when you’re ready to launch.
-
Template purchases are designed for DIY customization unless otherwise stated. If you’d rather have professional help customizing your site, you can inquire about additional website design or customization services.
-
I’d recommend making each purchase a single-site license. Something like: “Your purchase includes a license to use the template for one website/business. A separate license is required for additional websites.”
-
This depends on how you want to license them. If you don't want other designers buying one copy and reusing it repeatedly, I’d say: “Templates are licensed for one website. Designers may purchase a template for a client, but a separate purchase is required for each client website.”
-
Your purchase includes the complete website template and all pages and layouts shown in the template demo. Your own copy, photography, branding, domain, Squarespace subscription, and third-party tools are not included unless specifically stated.
-
Because website templates are digital products that cannot be returned once delivered, all template sales are final. Please review the demo and product details carefully before purchasing.